 Supplies list:
Fabric for scrap bag:
- 9” x 14” for Lining
- 9” x 14” for Exterior
- 2 1/2” x 9” for Facing (cut two fromfabric and two fromfusible interfacing)
Fabric for pincushion:
- 5” x 5” for Top (cut two)
- 3” x 10 1/2” for Bottom(cut two)
Fabric for pocket panel:
- 7 1/2” x 23”
- 1 1/2” x 10” for Loop (also cut from fusible interfacing)
You will also need:
- Lightweight Fusible Interfacing, cut as described above
- 9” Flannel or felt Square forWeight Bag
- 2 1/2” x 5” piece ofWool Felt for Pincushion Top
- Polyester Fiberfill*
- 1 1/4 Cups Uncooked Rice*
- 1” Button
- Disappearing Ink Marker (or similar)
- Thread tomatch fabrics and button and Hand Sewing Needle
Let´s start:
Pre-cut all your fabrics:
Making the scrap bag
Fold the exterior fabric in half, right sides together, and stich both sides, use a 1/2" seam allowance. Repeat with lining fabric but using a 5/8" seam allowance.
Clip bottom corners and press side seams open. Repeat with the lining.
Measure 1 1/2" from the point and draw a stitching line perpendicular to the seam:
Stitch along the line you have just drawn and trim the corner:
Repeat with the other bottom corner of exterior fabric and the two corners of lining.
Place two bottoms together, and baste or zigzag stitch together the seams allowances (this will hold the lining in place)
Repeat for the other corner.
Turn out so the exterior is on the outside and the lining is on the inside. Baste or zigzag stitch together the raw edges around the top of the bag
Iron fusible interface pieces to the wrong sides of both scrap bag facing pieces.
Placing right sides together, stitch along the short edges, using a 1/2" seam allowance, creating a close loop.
Press seam allowances open and turn up the bottom of the facing pieces by about 1/2", and press
Fit scrap bag facing onto scrap bag, matching raw edges around the top of the bag. Line up side seams, pin in place and sew together using a 1/2" seam allowance.
Turn facing to the inside and press. Stitch facing near the bottom edge, securing it to bag.
Center and sew your button to the facing.
Pocket
panel
Fold
exterior panel in half, right sides together matching short ends. Sew both long
sides using a ¼” seam allowance. Clip corners, turn right side out and press.
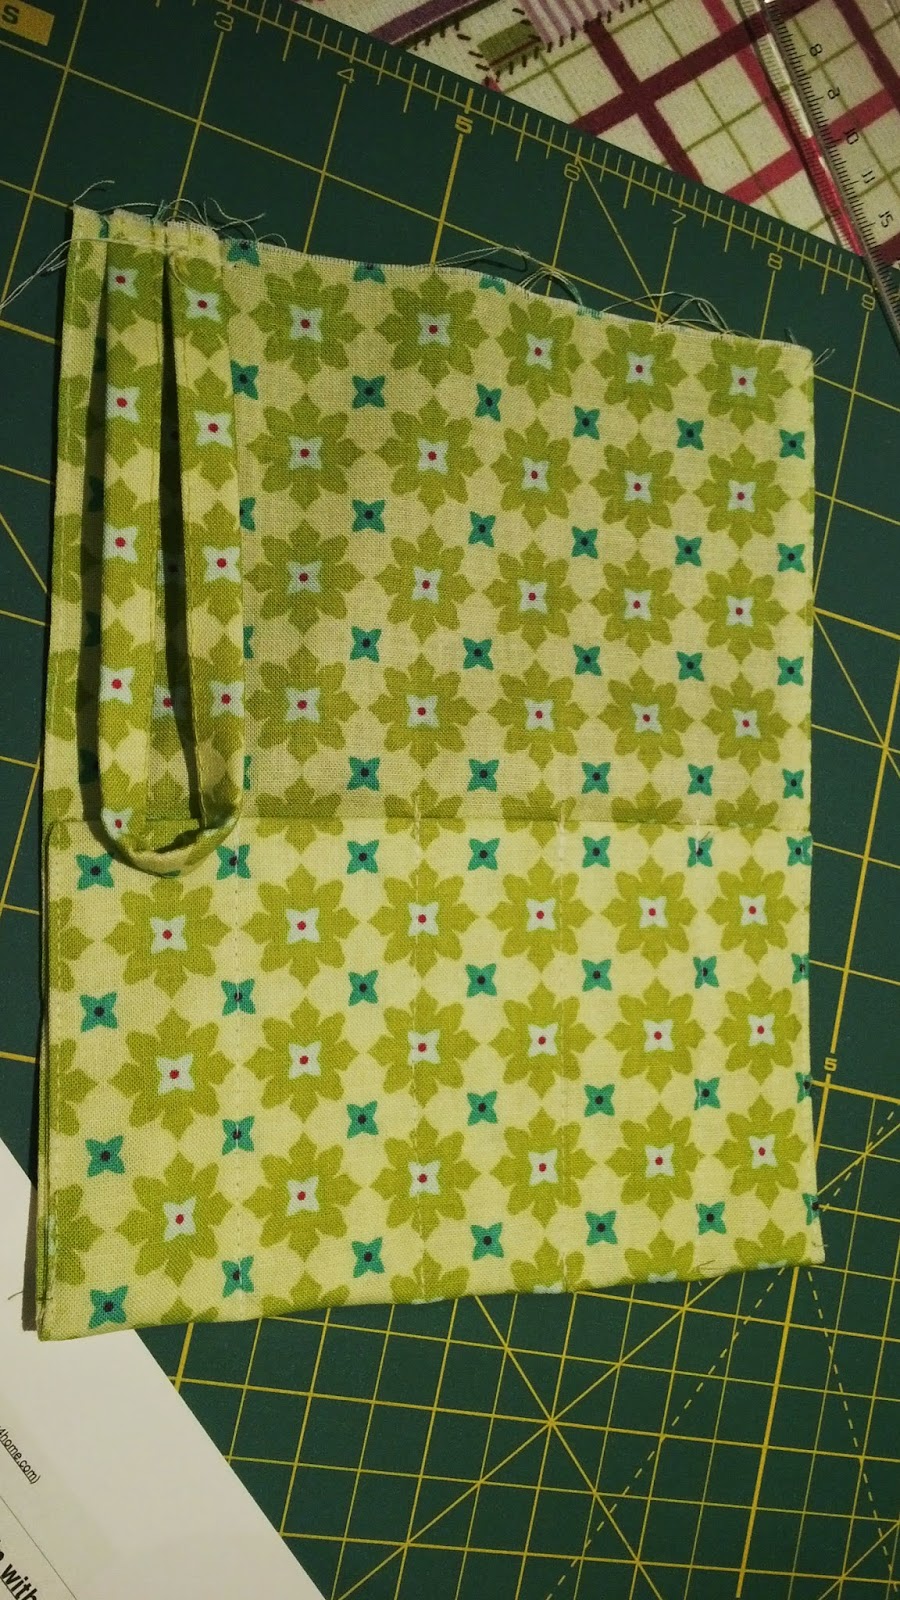
Bring the
bottom (folded) edge up 3 ½” to create the pocket. Stitch both sides in place
using a 1/8” seam allowance.
Divide
pocket stitching as desired, backstitching at the end and end of each row of
stitching to secure.
Sew loop to
the top raw edge of pocket panel. Use a 1/8” seam allowance, back and forth
across the loop several times to secure.
Making the
loop:
Iron
interfacing to the wrong side of your loop piece. Fold in half, wrong sides
together and press.
Fold and
press both long sides to the middle.
Topstitch
around all side.
Pincushion
Start by making the weight bag. Fold felt in half and sew two sides using a 1/2" seam allowance.
Fill bag with about 1 1/4" cups of uncooked rice, so the rice should not fill the entire bag.
Stitch the last open side using a 1/2" seam allowance and clip corners.
Sew your two pincushion top squares to either side of your felt piece using a 1/2" seam allowance. Press each square to the outside, keeping the felt flat. Set aside.
Lay one of your pincushion bottom pieces on your work surface and center your pocket panel on top. Sew in place using a 1/2" seam allowance from the top.
ZigZag stitch all the layers together along the top edge.
Place your second pincushion bottom piece on the top first (right sides together). Using a 1/2" seam allowance, sew 3" in from each side, backstitching to secure.
Press seams open. The opening in the middle will be used for stuffing and turning.
Turn pincushion bottom over and roll pocket panel as shown to keep it out of the way for the next step.
Keeping right sides together, arrange pincushion top on top pincushion bottom and pin in place.
Using a 1/2" seam allowance sew four sides. Clip corners.
Turn your project right side out and stuff with polyester fiberfill. Pay attention to the four corners. The trick is to use as much fiberfill as you can while still leaving space for the weight bag.
Carefully feed the weight bag into the pincushion.
You may need to do a little massaging to get your stuffing and weight bag just right.
Once you are happy with the shape of your pincushion, hand sew the opening closed.
This opening will be hidden, so your stitches don´t need to be pretty, just secured!
Michael Miller Patty Young Tiny Flow


